How to Use a Ring Light for Professional Lighting
Ring lights are a versatile tool used in various creative fields such as photography, videography, and makeup artistry. They provide even and flattering illumination. To make the most of your ring light, follow these steps:
Step 1: Assemble Your Ring Light
Unbox and Check Components: Ensure you have all the components, including the ring light, tripod stand, smartphone holder, and any included accessories.
Set Up the Tripod Stand: Attach the ring light to the tripod stand. Adjust the height to your preferred level. A higher placement often minimizes shadows.
Step 2: Adjust the Ring Light’s Settings
Power On: Connect your ring light to a power source using the provided cable and turn it on.
Color Temperature: If your ring light has adjustable color temperature settings, choose warm (yellowish) or cool (bluish) lighting, depending on your desired mood or subject.
Brightness: Adjust the light’s brightness level to suit your needs. Dim for a subtle glow or increase it for intense illumination.
Step 3: Mount Your Camera or Smartphone
Camera Setup: If you’re using a camera, position it in the center of the ring light, ensuring the lens is in the center of the ring for a halo effect.
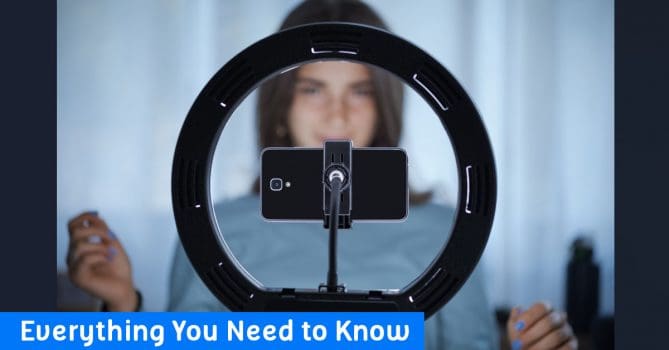
Smartphone Setup: If you’re using a smartphone, attach it to the included smartphone holder and place it in the center of the ring light.
Step 4: Position Your Subject
Optimal Positioning: Your subject (the person or object you’re photographing or recording) should stand or sit facing the ring light with the camera or smartphone directly in front.
Minimize Shadows: For the most flattering lighting, ensure there are no prominent shadows on the subject’s face.
Step 5: Use the Ring Light for Your Creative Endeavors
Photography: If you’re a photographer, start capturing your shots. The ring light provides even lighting that minimizes shadows and enhances the subject’s features.
Videography: For videography, begin recording your videos. The consistent illumination ensures a professional look.
Makeup and Beauty: Makeup artists can use the ring light to achieve even skin tones and makeup application. Adjust the light’s settings as needed.
Step 6: Experiment and Adjust
Experiment: Don’t be afraid to experiment with different lighting setups, angles, and color temperatures to achieve your desired results.
Ring Light Distance: Adjust the distance between the ring light and your subject. Closer placement creates a more prominent halo effect, while moving it farther away softens the illumination.
A ring light is a versatile and user-friendly tool that can significantly enhance your creative work. By following these steps and experimenting with various settings, you can achieve professional-quality lighting for your photography, videography, and makeup artistry projects.


